Create a Codefresh account
Welcome to Codefresh!
Before you can create pipelines, build, and deploy applications in Codefresh, you need to create a Codefresh account.
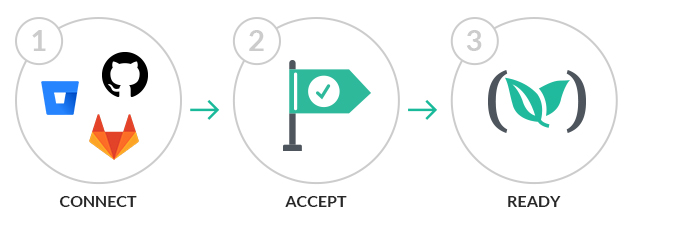
Creating an account in Codefresh is free (no credit card is required) and can be done in three simple steps:
For Codefresh on-premises, see On-premises account & user setup.
Step 1: Select your Identity Provider
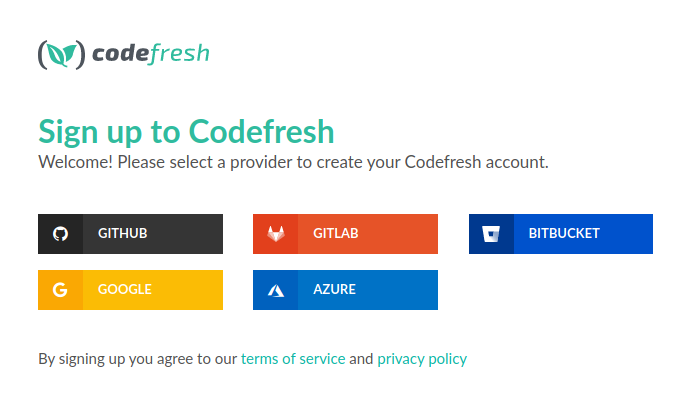
As the first step in setting up your account in Codefresh, select the identity provider (IdP) to use. Codefresh currently supports the following IdPs:
- GitHub
- Bitbucket
- GitLab
- Azure
- LDAP
If you need an IdP that is not in the list, please contact us with the details.
NOTE
For Git repositories, the login method is less important, as you can Git repositories through Git integrations, regardless of your sign-up process.
If you have multiple sign-up methods, as long as you use the same email address for all sign-ups, Codefresh automatically redirects you to the account dashboard.
- Go to the Codefresh Sign Up page.
- Select the IdP for sign-up.
- Continue with Step 2: Accept the permissions request.
Step 2: Accept the permissions request
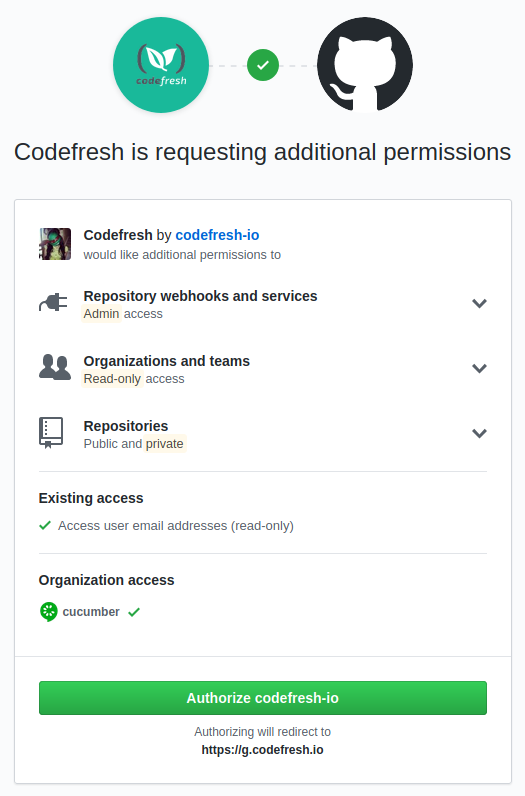
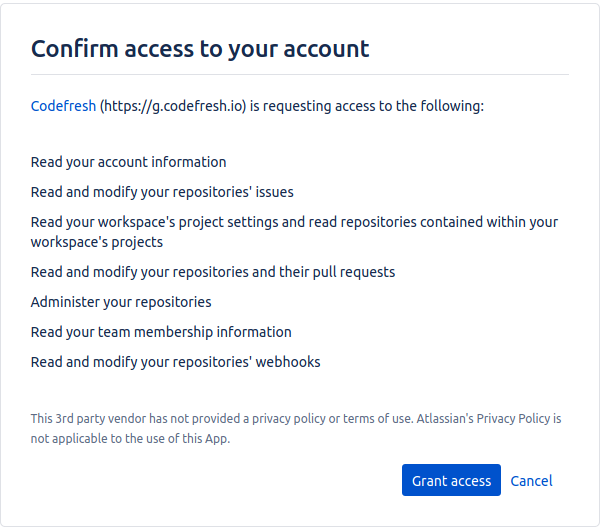
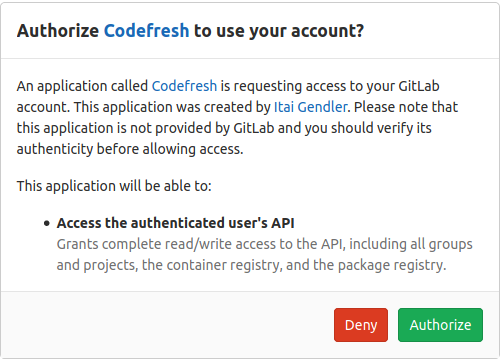
After you select the IdP (identity provider), Codefresh requests permission to access your basic details, and for Git providers, to access your Git repositories. The Permissions window that is displayed differs according to the IdP selected in the previous step.
Don’t worry, Codefresh will not do anything without your explicit approval. Codefresh needs the permissions to build and deploy your projects.
- Do any of the following:
- For GitHub: To continue, click Authorize codefresh-io.
- For Bitbucket: To continue, click Grant access.
- For GitLab: To continue, click Authorize.
Once you confirm the permissions for your Git provider, Codefresh automatically connects to your Git provider and fetches your basic account details, such as your email.
- Continue with Step 3: Verify account details.
Step 3: Verify account details
Verifying account details is the final step in creating your Codefresh account.
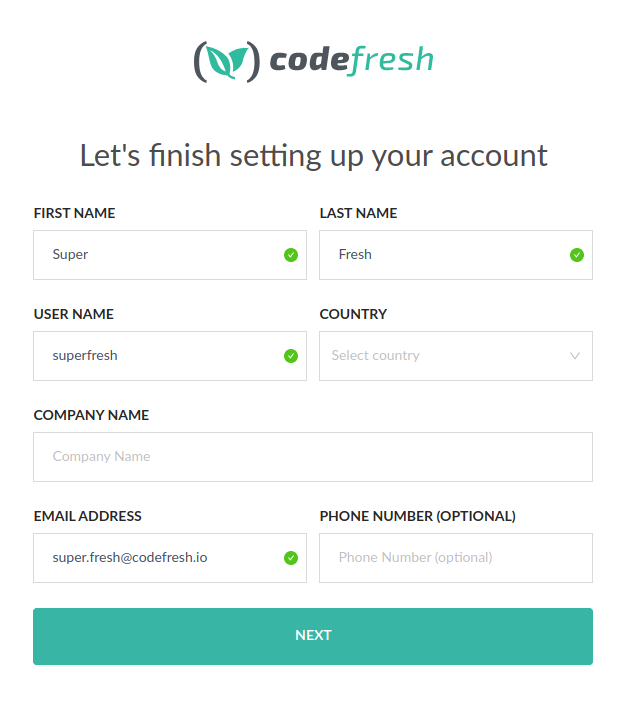
- Review the details for your new account, make the relevant changes, and click NEXT.
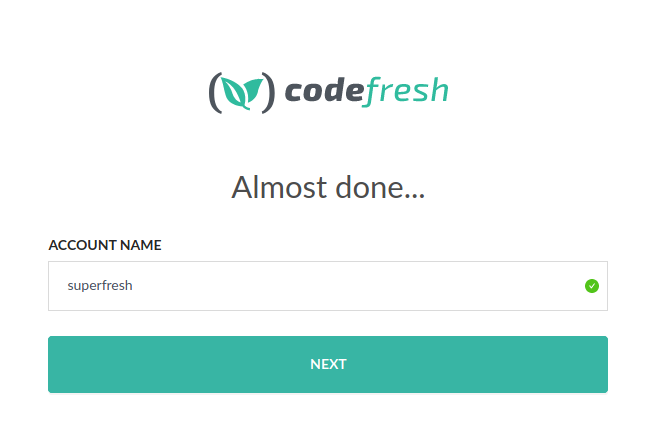
- Enter a name for your account, and click NEXT.
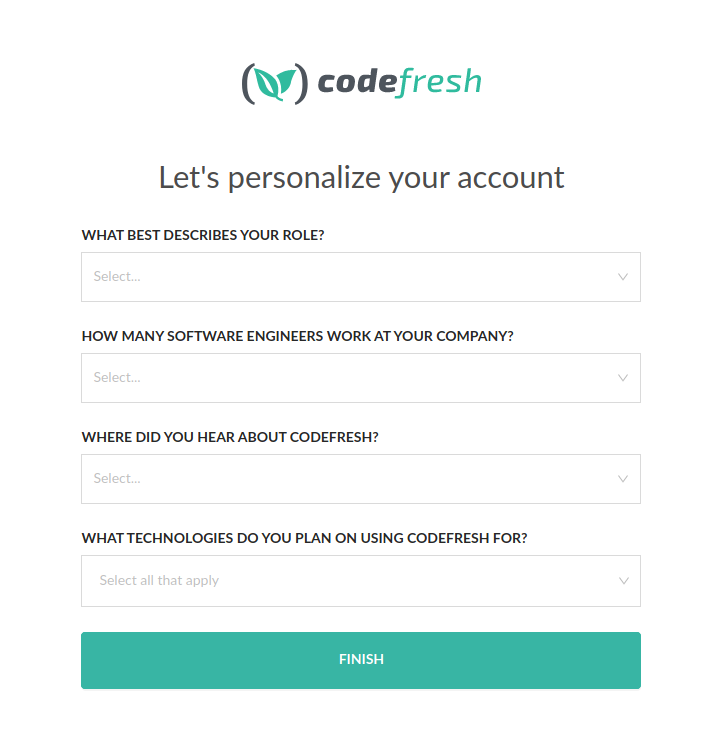
- Finally, answer the questions to personalize your account and click FINISH.
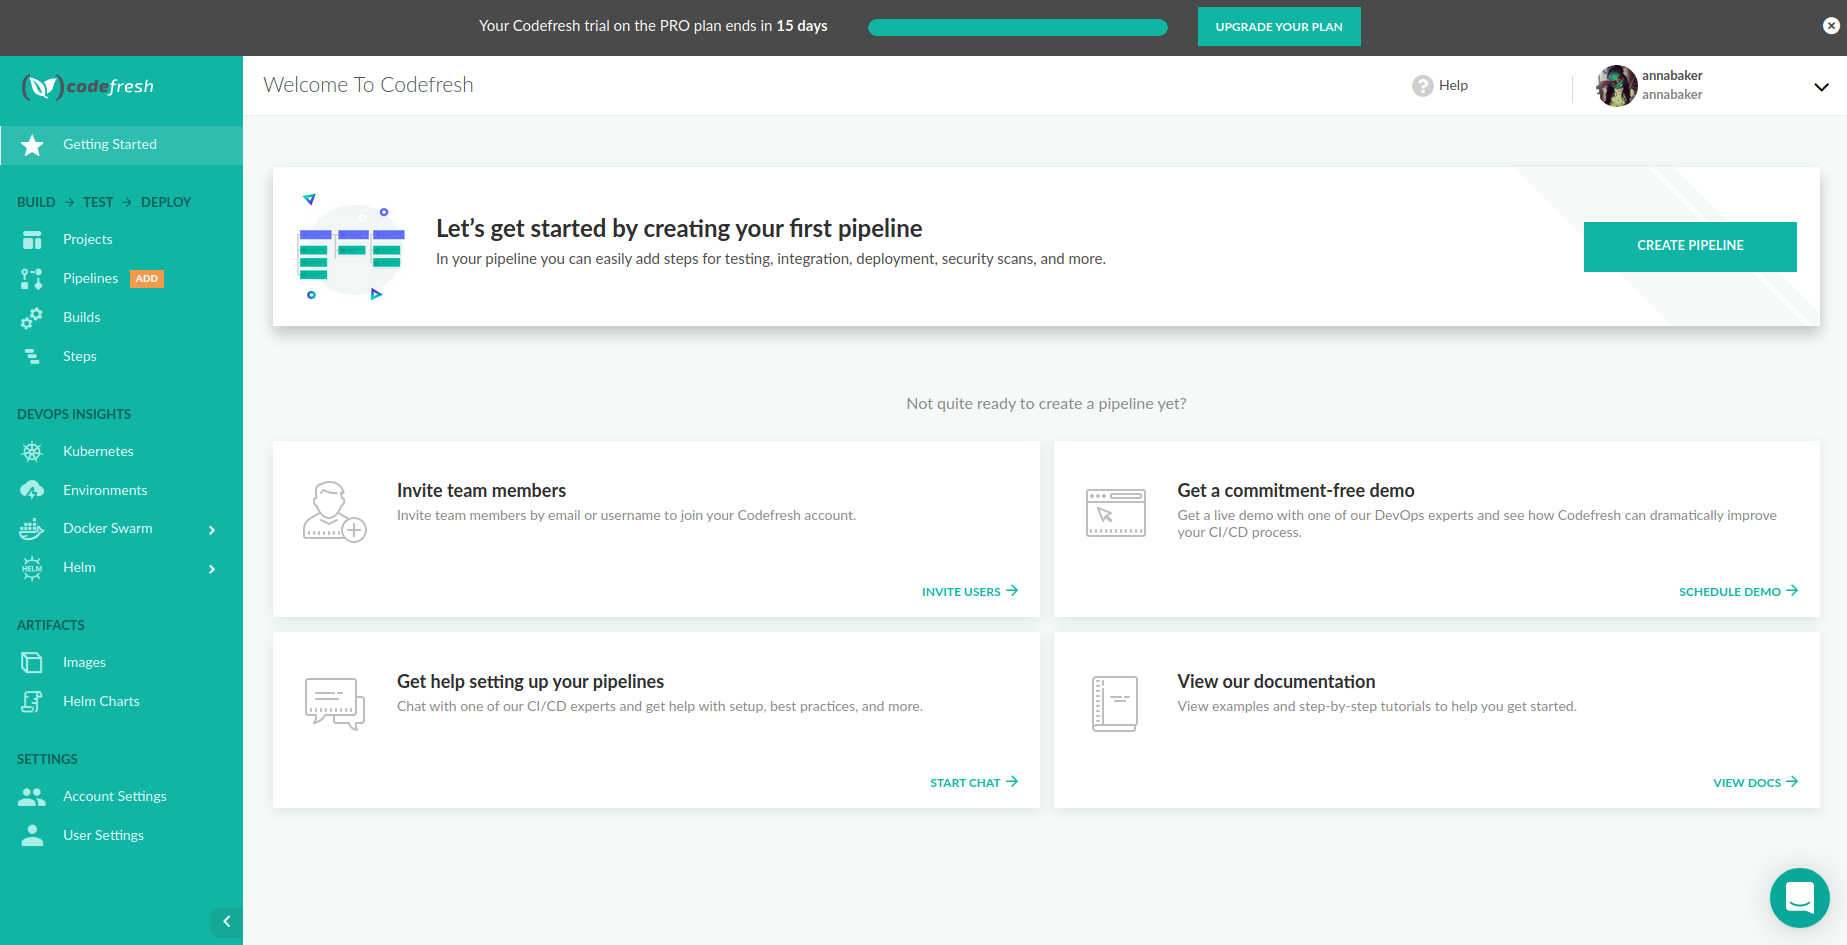
Congratulations! Your new Codefresh account is now ready.
Rename/delete Codefresh accounts
Codefresh administrators can rename and delete Codefresh accounts.
Rename Codefresh account
You may want to rename your existing account, for example, either due to a sign-up error or change of business name.
At this time, only Codefresh Support can rename accounts.
Please submit a support ticket with the following details:
- Current account name
- New account name
If the new account name already exists due to a sign-up error, please indicate this as well.
Delete Codefresh account
NOTE:
Only account owners can delete the account.
- In the Codefresh UI, on the toolbar, click the Settings icon and then select Organization Information.
- Scroll down to Delete Account and click Delete Account.
- To confirm, click Delete Account once again.
Related articles
Adding users and teams
Configuring access control
Codefresh IP addresses
CI pipeline quick start
Kubernetes deployment quick start
Pipeline examples
